You can organize makeup clients without expensive salon software with one client profile and one short session note per appointment.
Start with:
- How to contact the client
- Skin notes, allergies, sensitivities, and products to avoid
- Products and shades used
- Photos attached to the right session
- Deposit, balance, and payment status
- What to repeat or change next time
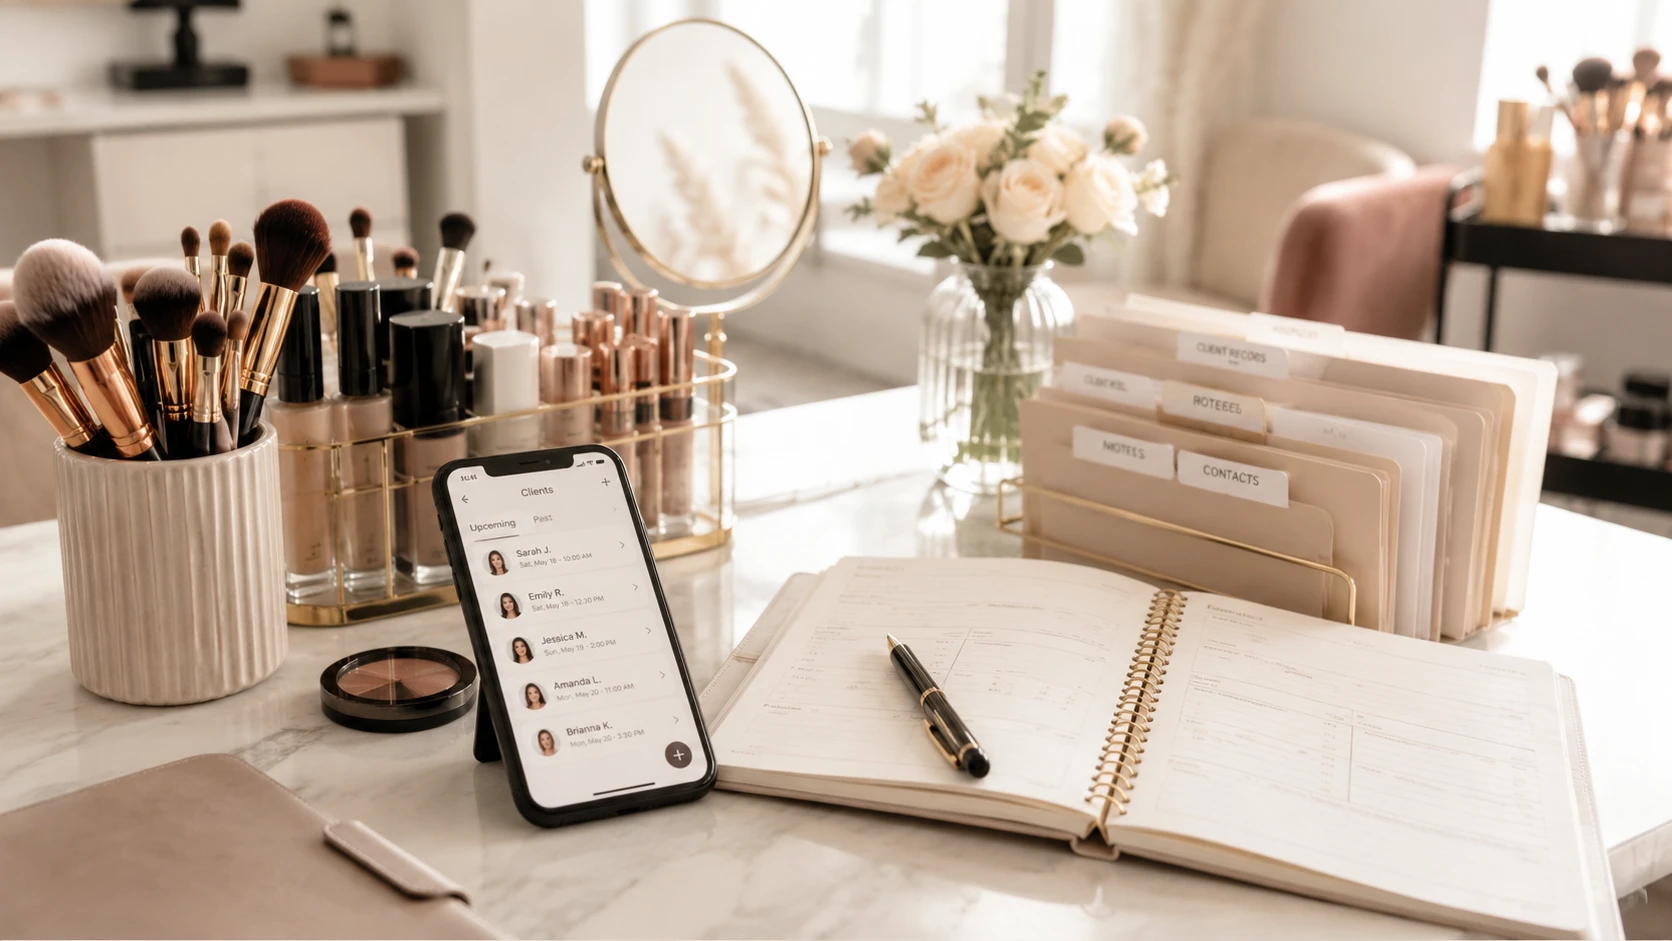
If those details are split between Instagram DMs, WhatsApp, Notes, your camera roll, and memory, repeat bookings become harder than they need to be.
The Beginner System: Client Record + Session Note
Think of your system in two parts.
The client record is the main profile. It changes slowly.
The session note is the appointment history. You add one after each booking.
| Part of the system | What it should hold | Beginner rule |
|---|---|---|
| Client record | Contact details, skin notes, allergies or sensitivities, usual preferences | Keep this short and easy to check before an appointment. |
| Session note | Date, service, look created, products used, photos, payment status | Add this after every appointment while the details are fresh. |
| Photo labels | Photo stage, service type, look style, permission status | Use labels to find photos later, not to describe every tiny detail. |
| Payment note | Deposit, remaining balance, payment method, status | Keep it clear enough that you never have to guess. |
| Next-time note | What to repeat, what to change, what to bring | This is what makes repeat clients feel remembered. |
If you are a beginner, do not try to build the perfect system in one day.
Start with the details that help you do better work next time.
What to Save First
Save the information that helps you prepare, avoid mistakes, and recreate looks.
| Save this | What to write | Why it matters |
|---|---|---|
| Contact details | Name, phone, Instagram, email, location | You can reach the client without digging through old messages. |
| Skin notes | Skin type, undertone, dry areas, oily areas, texture notes | You can prep the skin better next time. |
| Sensitivities | Allergies, eye sensitivity, latex sensitivity, fragrance issues, products to avoid | You reduce the chance of repeating a product problem. |
| Product notes | Foundation shade, concealer shade, powder, lashes, lip combo, products that worked | You can recreate the look without guessing. |
| Photos | Before, after, eyes, skin close-up, inspiration photo | You can find the exact look later. |
| Payment status | Deposit paid, balance due, paid in full, payment method | You avoid awkward payment confusion. |
| Next-time notes | What the client loved, what to change, what to bring | You make the next appointment feel more personal. |
This is not medical recordkeeping, and you should not diagnose skin conditions.
But it is professional to record what a client tells you. The FDA’s cosmetics allergen guidance says the best way to prevent a cosmetic allergy problem is to know what someone is sensitive to and avoid it. It also notes that terms like “hypoallergenic” or “for sensitive skin” do not have a federal standard in the U.S.
So instead of writing “sensitive skin” and leaving it there, write what actually matters:
| Vague note | Better note |
|---|---|
| Sensitive skin | Client says fragrance can irritate her skin. Avoid scented primer. |
| Allergic | Client says she reacts to latex. Use latex-free lash glue. |
| Oily | Gets oily around nose and forehead after two hours. Set T-zone more carefully. |
| Dry | Dry patches around nose and cheeks. Use extra moisturizer before base. |
That is advice you can use before the client sits in your chair.

A good client record does not need to be complicated. It needs to be easy to check before the next appointment.
What a Useful Session Note Looks Like
A session note should help future you.
It does not need to be long.
It needs to answer:
- What did I do?
- What products and shades worked?
- What did the client like?
- What should I change next time?
- Are there any payment or photo notes?
Here is a beginner-friendly example.
| Section | Example note |
|---|---|
| Appointment | Engagement shoot makeup. Client wanted soft glam, glowy skin, and natural brows. |
| Skin prep | Hydrating primer. Extra moisturizer around nose and cheeks. |
| Base | NARS Sheer Glow in Punjab. Tarte Shape Tape in light-medium. Set only the T-zone because she prefers a glow. |
| Eyes | Warm brown shimmer, small wing, individual lashes on outer corner. |
| Lips | Charlotte Tilbury Pillow Talk with clear gloss on top. |
| Client liked | Glowy skin, soft eyes, natural brows. |
| Change next time | Use less powder under eyes. Bring one slightly deeper lip option. |
| Photos | Saved after photo, eye close-up, and inspiration photo. |
| Payment | Deposit paid before appointment. Balance paid in cash. |
That is enough.
You do not need a full essay.
Write it right after the appointment, before the small details disappear from your brain.
How to Tag Client Photos Without Making a Mess
Tags are not for making your life more complicated.
Tags are short labels that help you find photos later.
Photo tools like Adobe Lightroom use albums, keywords, metadata, flags, and ratings so people can organize and filter photos. For a makeup artist, the same idea can be much simpler: label a photo by client, session, photo type, look, and permission.
Start with a small tag system.
| Tag group | What it helps you find | Beginner examples |
|---|---|---|
| Client | The person in the photo | Maria, Sofia, bride Anna |
| Session | The booking or appointment type | bridal trial, wedding day, event makeup, photoshoot |
| Photo type | The stage or detail | before, after, eye close-up, skin close-up, inspiration |
| Look style | The makeup result | soft glam, full glam, natural, red lip, glowy skin, matte skin |
| Need-to-remember | Practical details | sensitive eyes, latex-free, oily T-zone, dry patches |
| Permission | Whether you can use it publicly | private, okay to post, story only, ask first |
For a beginner, 3 to 5 labels per photo is enough.
Do not tag every product. Put product details in the session note.
Use tags for the things you actually search for later.
| Better habit | Why it works |
|---|---|
| Add a few human labels like Maria, bridal trial, after, soft glam, okay to post | You can find the photo by client, service, look, or permission. |
| Keep product names in the session note | Product notes are easier to read in one place. |
| Mark private photos clearly | You avoid accidentally using a client photo for marketing. |
| Use the same labels every time | Your photo library becomes searchable instead of random. |
The mistake beginners make is creating too many labels.
You do not need 50.
Start with the labels you would actually type when searching for a look.
A Better Photo Workflow for Makeup Artists
Your camera roll is useful for taking photos.
It is not great for managing client history by itself.
Use this simple flow after each appointment.
| Step | What to do | Beginner advice |
|---|---|---|
| Ask first | Ask if the client is comfortable with record photos. Ask separately before posting anything. | A client may be fine with photos for your notes but not for Instagram. |
| Take a small set | Before photo if appropriate, finished full-face photo, eye close-up, skin/base close-up, inspiration photo if useful. | You do not need 40 photos per client. |
| Pick the best few | Keep the photos that help you remember the look or show your work clearly. | Save quality, not clutter. |
| Attach them to the session | Keep the photos with the appointment they came from. | A random after photo is less useful if you cannot find the session details. |
| Add a few labels | Client, session, photo type, look style, permission. | Keep labels simple and consistent. |
If you plan to publish a recognizable client photo for marketing, get clear permission and check your local rules. Adobe’s guide to photo release forms explains that releases are used to get permission to publish photos, especially for commercial or promotional use.
Keep your photo permission note simple:
| Permission note | What it means |
|---|---|
| Private | Do not post. Keep only for your client record. |
| Okay to post | Client agreed you can use it for portfolio or social media. |
| Story only | Client is okay with a temporary story, not permanent portfolio use. |
| Ask first | Do not use until you confirm. |
Photos become much more useful when they are attached to the client, service, and session they belong to.
How to Track Payments Without Making It Awkward
Payment notes do not need to sound cold.
They just need to be clear.
For each session, save:
| Payment detail | Example |
|---|---|
| Service price | Event makeup, EUR 80 |
| Deposit | EUR 20 paid by bank transfer |
| Balance | EUR 60 due on the appointment day |
| Payment method | Cash, bank transfer, card, Revolut, PayPal |
| Status | Deposit paid, paid in full, balance due, unpaid |
| Extra notes | Travel added, lashes included, bridal party member added later |
This helps you avoid uncomfortable guessing.
You should not have to search bank transfers, screenshots, and DMs to remember who paid.
A clear payment note also makes bridal bookings easier, especially when there is a trial, a deposit, a wedding-day balance, travel, and sometimes extra people added later.
Payment tracking is not about being strict. It is about knowing what has already happened so you do not have to rely on memory.
A 15-Minute Setup for Your First 10 Clients
Do not try to organize every client you have ever worked with.
Start with the clients who are most likely to book again.
- Choose 10 clients who recently booked or may book again.
- Add their contact details and usual service.
- Add one skin or product note you remember.
- Add one payment status: paid, deposit paid, balance due, or unpaid.
- Choose 3 to 5 useful photos for each client.
- Add simple labels to those photos: client, service, after, look style, permission.
- After the next appointment, add one session note before the day ends.
This is enough to start.
The habit matters more than the tool.
Common Client Organization Mistakes
| Mistake | Why it becomes a problem | Better habit |
|---|---|---|
| Keeping important notes only in DMs | Details get buried under old conversations. | Move important notes into a client record. |
| Saving all photos only in the camera roll | You cannot easily search by client, service, session, or permission. | Attach photos to the client and appointment. |
| Tagging too much | You stop using the system because it feels like homework. | Use a few labels you actually search for. |
| Writing notes that are too vague | ”Soft glam” does not help you recreate the look. | Save products, shades, preferences, and what to change. |
| Not tracking deposits | You forget who paid and who still owes a balance. | Save deposit, balance, tip, and payment method. |
| Waiting too long to update records | You forget small details that matter later. | Update the record right after the appointment. |
Most of these mistakes happen because the artist is busy, not because they are careless.
That is why the system needs to be simple.
If it takes too long, you will stop using it.
When Notes or Spreadsheets Are Enough
If you only have a small number of clients, Notes or a spreadsheet can work.
Use the tool you will actually keep updated.
A Notes app can be enough if you mostly need:
- Skin notes
- Product notes
- Trial notes
- Client preferences
- Look details
A spreadsheet can be enough if you mostly need:
- Client names
- Contact details
- Appointment dates
- Deposit status
- Remaining balances
The problem starts when one part is in Notes, another part is in DMs, the photos are in your camera roll, and the payment status is somewhere in your bank app.
That is when the system becomes hard to trust.
When to Use a Dedicated Client System
You probably need something more organized when:
- You have repeat clients you want to remember properly
- You work bridal trials and wedding-day bookings
- You often need to recreate past looks
- You save a lot of before and after photos
- You track deposits and remaining balances
- You work in different locations and need travel notes
- You feel stressed before appointments because details are scattered
This does not mean you need salon software.
Many freelance makeup artists do not need staff scheduling, POS systems, or a complicated booking platform.
You need a place where client notes, photos, sessions, appointments, and payments stay together.
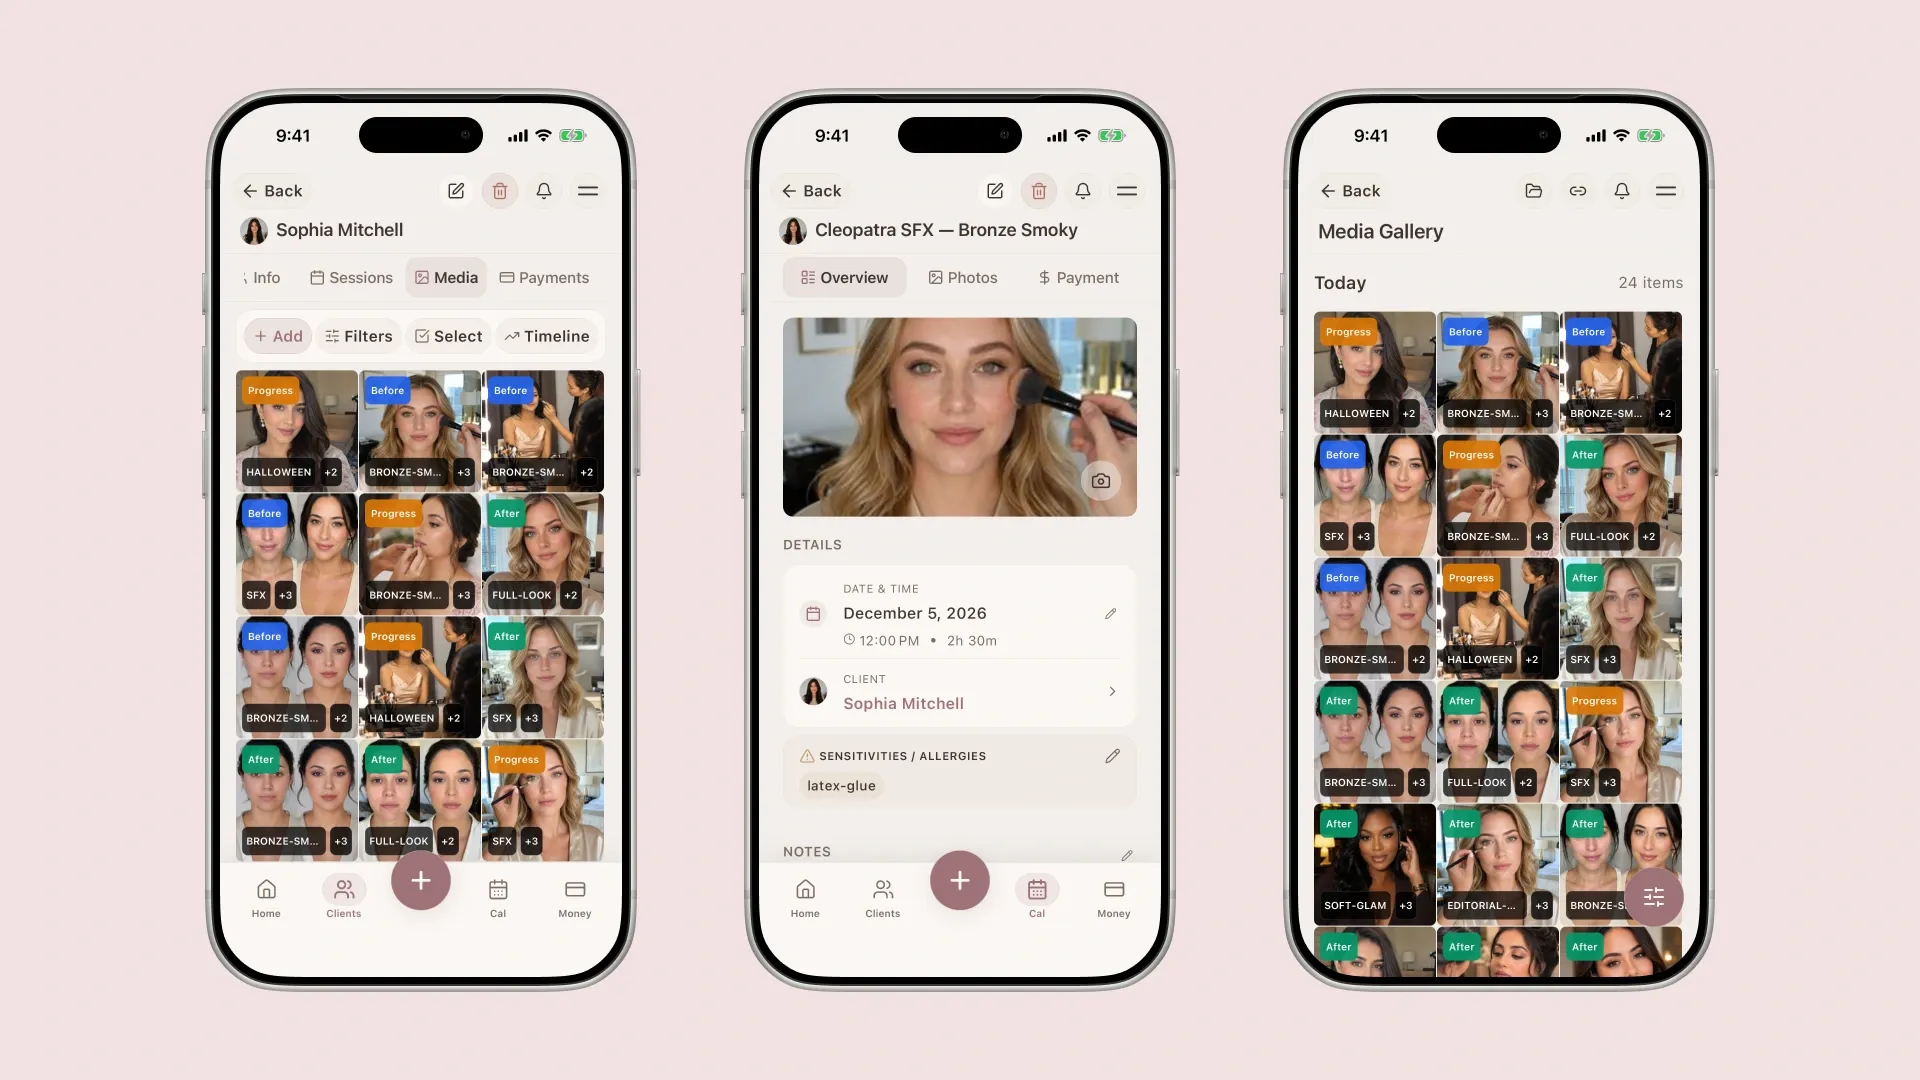
For example, Glamorph for makeup artists is built around client profiles, session history, photo organization, and payment notes rather than heavy salon operations.
Final Checklist
Before your next repeat booking, make sure you can quickly answer:
- How do I contact this client?
- What skin prep worked last time?
- Did she mention any allergies or sensitivities?
- Which foundation and concealer shade did I use?
- What lash or brow style did she prefer?
- Where are her before and after photos?
- Which photos can I post, and which are private?
- Did she pay a deposit?
- Is there a remaining balance?
- What did she like?
- What should I change next time?
If you can answer those questions quickly, you are already more organized than an artist trying to run everything from memory.
Written by
Professional makeup artist, bridal MUA, and founder of Glamorph
Professional makeup artist and bridal MUA with 5+ years of experience, founder of Glamorph, writing about bridal beauty, soft glam, and freelance beauty work.
You might also like
Freelance Makeup Artist Client Management
A practical client management workflow for freelance makeup artists to organize client notes, skin details, products, photos, payments, and bridal history.
Read more
Best Client App for Freelance Nail Techs
Nail techs track gel systems, allergy flags, fill schedules, and nail art across dozens of clients. A client tracker replaces notes and spreadsheets.
Read more
How Much Should I Charge for My First Bridal Makeup Job in 2026?
First bridal makeup pricing guide with starter rates, bridal trial fees, travel, deposits, bridal party add-ons, and quote templates.
Read more